Description
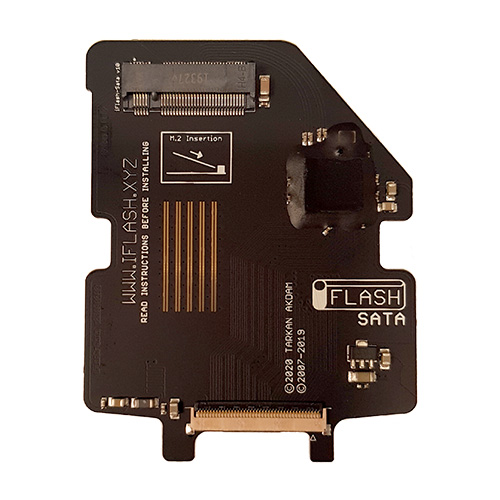
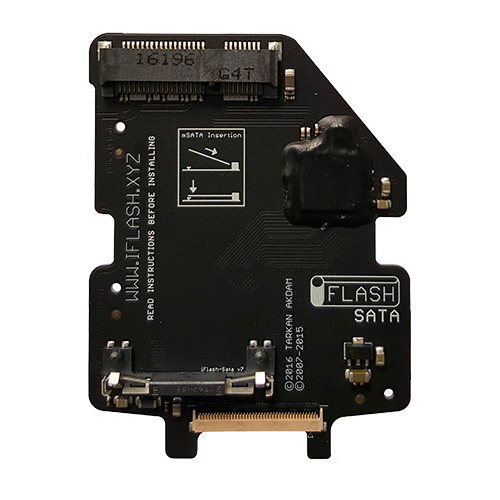
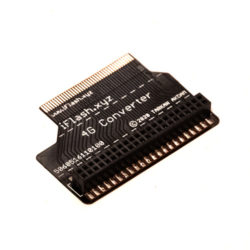
iFlash-Sata v10
M.2 SATA Adapter for the iPod
For those seeking maximum storage capabilities for their iPod, the iFlash-Sata v10 allows you to install and use the latest and largest M.2 SATA based storage devices.
While power consumption is higher than SDXC, on a price per Gb, it is the only way to achieve affordable 256Gb to 1Tb iPod.
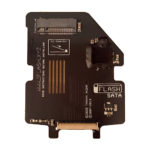
iFlash-Sata v10 Front
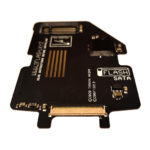
iFlash-Sata v10 Zif View
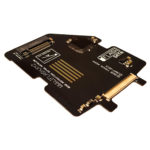
iFlash-Sata v10 Angle View
Features
- Thin profile – only 3.6mm thick with the M.2 SATA drive installed
- Ultra low jitter Japanese made clock module – reduce errors and noise on the Sata bus
- Pi Filter – stop induced noise from the mSata affecting sound quality
- DDK Zif Connector – Gold plated and perfectly matches the Apple HDD Ribbon
- Thermal Design – Ensures the both sides of M.2 drive stays cool
IMPORTANT
The iFlash-Sata v10 has been designed to accept M.2 SATA 2242 style drives.
The drive used must offer a SATA III interface, it must have a size of 2242 ( 22m wide by 42mm long).
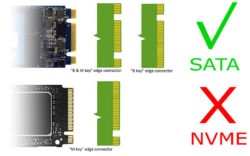
M.2 Key Types
M.2 NVME or PCIE drives will not fit and will not work.
iPod Compatibility
IMPORTANT: Read iFlash Compatibility Chart for iPod model specific limitations
- iPod 5g Video 30Gb, 60Gb
- iPod 5.5g Video 30Gb, 80Gb
- iPod 6g Classic 80Gb, 120Gb, 160Gb *Limit of 128Gb with mSata
- iPod 7g Classic 160Gb (late 2009)
Installation
Installation Guide (click on images for detailed instructions)
-
-
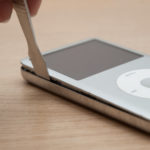
Using suitable tools, release the holding clips, making your way around the case till it opens. I suggest watching some iPod opening videos on the internet.
Open iPod
-
-
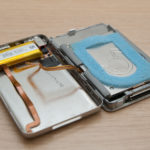
Rest the front and back side by side, be careful to not cause too much stress on the headphone ribbon.
Opened up
-
-
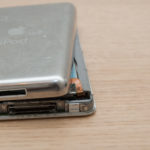
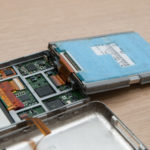
Before pulling the case apart, release the battery cable – lift the black lock bar -or- gently using even pressure pull up the battery ribbon away from the connector.
Release Battery cable
-
-
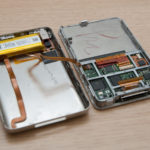
Lift and flip back the hard drive. Gently lift the black bar to release the ribbon from the HDD.
HDD removal
-
-
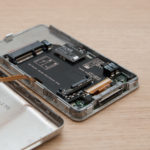
Remove all rubber bumpers and strips from the iPods if any remain after the HDD is removed. iPod is ready to accept the iFlash board.
Ready for iFlash board
-
-
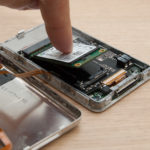
Install iFlash-Sata board in to iPod, Make sure ribbon is fully home and the black bar is locked down.
Install iFlash-Sata
-
-
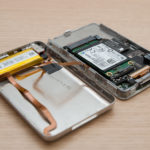
Insert the mSata drive fully in to the connector at an angle, then gently push down till it locks on the iFlash-Sata.
mSata installation
-
-
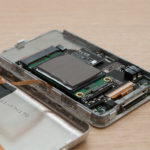
The iFlash-Sata is now installed.
Installation Complete
-
-
Remove the protective outer sheets from the thermal gap filler before placing on top of the mSata drive. Fold the piece in half for thick case back iPods.
Thermal Gap Filler
-
-
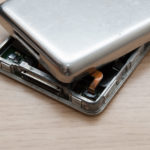
Slide battery cable in to the connector and push down the black latch to lock the ribbon in place.
Refit battery ribbon
-
-
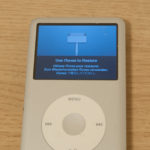
iPod is now ready to restore & sync using iTunes.
Ready to restore
M.2 Drives
User Reported working M.2 SATA drives (updated: August 2024)
- Dogfish M.2 – 256GB
- KingShark M.2 – 250GB
- Transcend MTS430S – 256GB
- Transcend MTS430S – 512GB
- Transcend MTS430S – 1TB
-

